Co-op Rush
Co-op Rush
Co-op Rush bosses each have their unique attack patterns, and in order to succeed in defeating them, it is crucial to understand their attack patterns and evade at the right timing, proceed with gimmicks, and more.
■ Entry Time
- Co-op Rush is available every Wed to Sun 11:00 - 14:00 and 19:00 - 02:00 the next day.
- The basic entry count for Co-op Rush is once per week, and it resets on Monday at 00:00.
ㆍ Co-op Rush entries are shared, and you can select the desired Co-op Rush and join a party.
■ How to enter
- Up to 10 Adventurers can form a Co-op Rush to enter Co-op Rush.
※ Adventurer's Apparition will not participate in Co-op Rush.
■ Common Rule

- You are able to revive when defeated in Co-op Rush.
ㆍ The remaining count of revives will be displayed on the top center of the Co-op Rush screen and on the revive button on the death UI.
ㆍ After defeat, you will automatically revive in place.
| Boss | Revive Limit |
| Offin | 3 |
| Garmoth | 2 |
| Ronin | 1 |
| Imoogi | 1 |
- You cannot obtain the completion rewards when defeated with no revives remaining in Co-op Rush.
ㆍ You will still receive rewards if the boss is defeated while you are reviving.
ㆍ The number of remaining entries is only deducted when you claim rewards. Even if you use up all your revival attempts and exit, your remaining entries will not be deducted.

- 10 seconds after entering Co-op Rush, auto-combat will be activated, and you will automatically be navigated to the boss to engage in combat.


- You cannot approach the start location after 60 seconds have passed since the Co-op Rush boss appears.
ㆍ If you remain in that location, you will be possessed by Dark Energy and your character will die.
- Added an attack of Co-op Rush bosses that pulls in faraway Adventurers.
ㆍ Adventurers near the boss will not be pulled in.
Co-op Rush : Offin
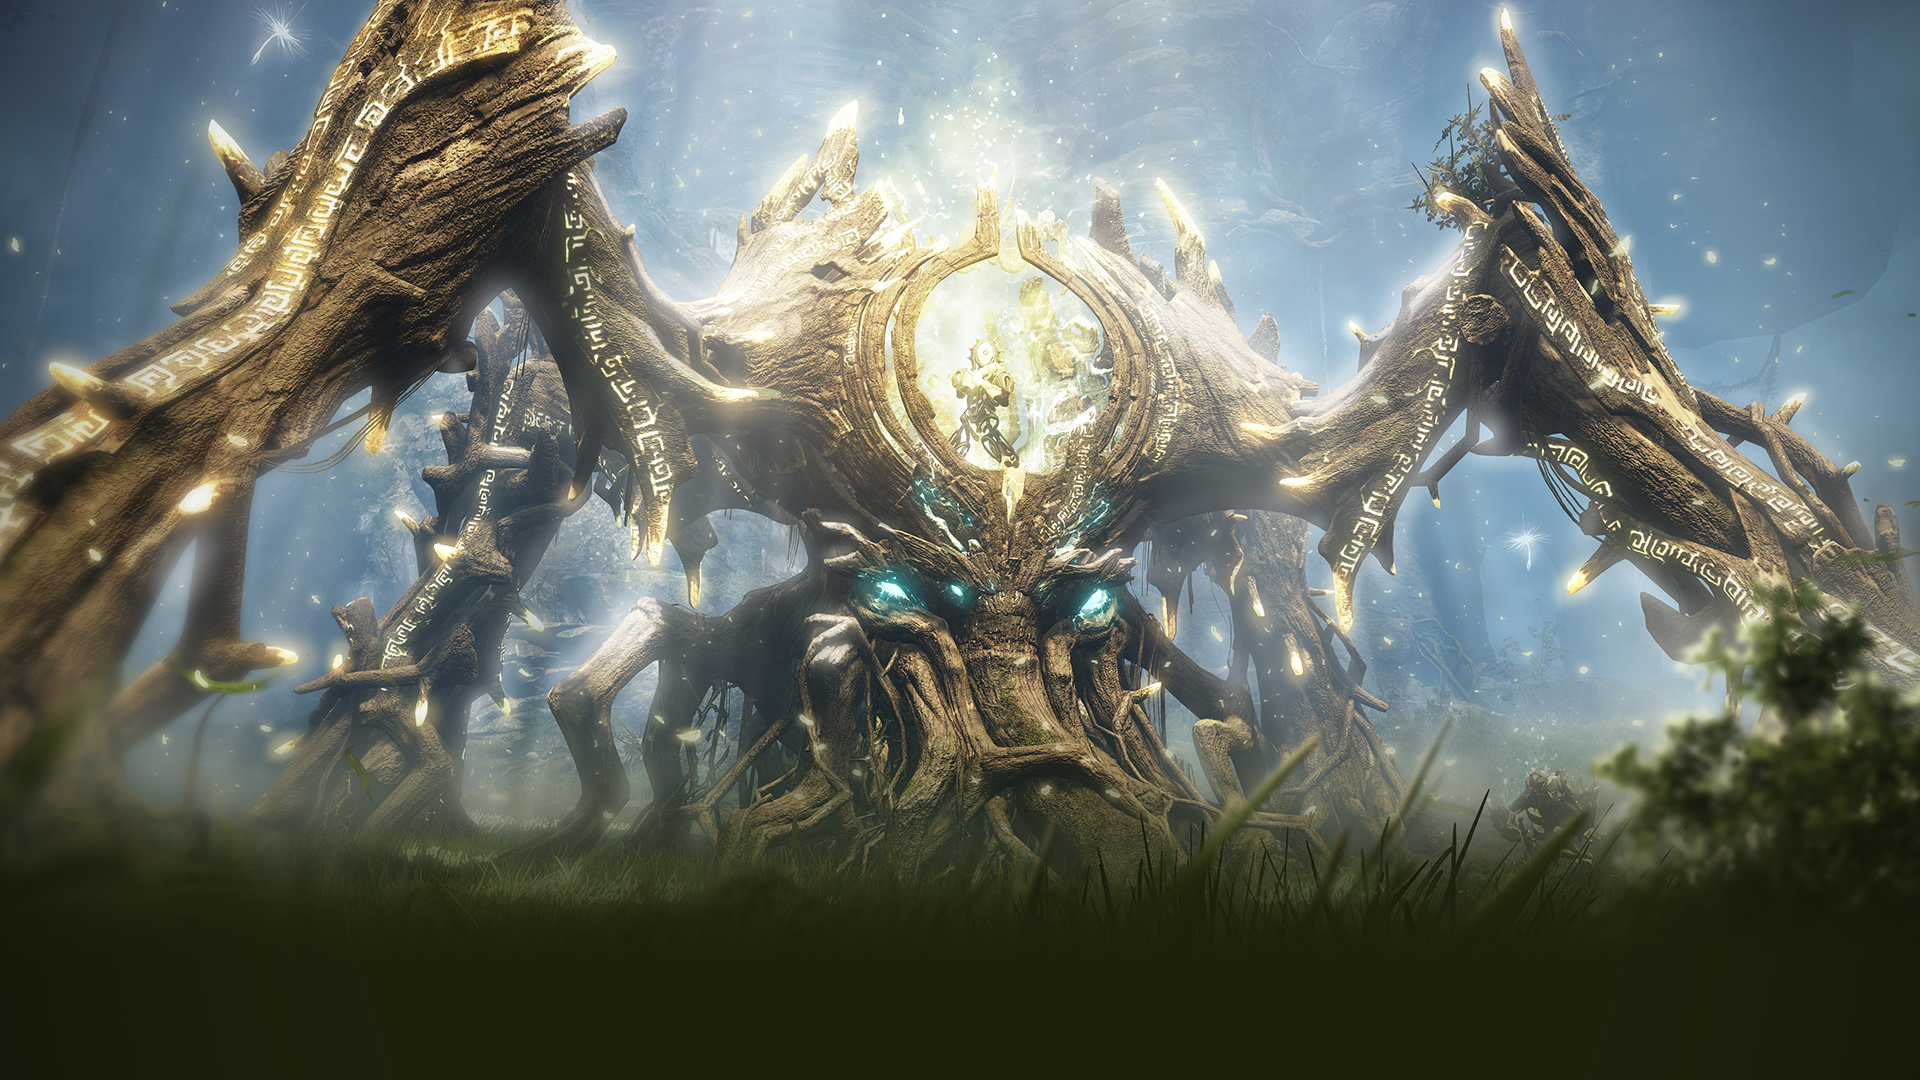
World Boss Offin appears with his insatiable roots extended deep into Kamasylvian land.
- Co-op Rush : Offin is available after completing the Story Quest "The Awakened Watcher."
ㆍ "The Awakened Watcher" can be accepted after completing the Northeast Kamasylvia Main Quest "Narc Brishka."
- Up to 5 Adventurers can form a Co-op Rush to enter the Temple of Greed and confront the World Boss Offin.
■ Reward
- Players can obtain Knowledge EXP by defeating Mirumok Watcher Offin, and can increase AP through Knowledge Level.
- Players can obtain [Ah'krad], [Abyssal Crystal Chest], [Root of Sorcery], [Dimensional Fragment], and [Magical Essence] as rewards upon successful clear.
- The title "Woaaang" can be obtained by achieving Knowledge Level 2 of Mirumok Watcher Offin.
■ Boss Guild
- Offin uses its four legs to land devastating attacks.
- Each leg is capable of a unique skill until it is destroyed.
| Leg Types | Abilities | ||
| Meteor Leg | Rains down meteorites in a ring formation. Travels from the outside to the inside, with a decreasing radius as it travels inwards. | ||
| Healing Leg | Recovers the HP of all legs. | ||
| Radiant Leg | Summons down a flash that will damage a single target. If it descends to the ground without hitting a target, all participants will take damage. |
||
| Posion Leg | Releases poison mist in a large area that damages every 0.5 seconds. |
✅ Following Orders
- The Co-op Rush Leader can use the widget in-game to set a target lock and send orders to party members, such as prioritizing a certain leg to protecting Neubella.
- It is essential to focus fire on a specific leg according to the leader's orders.
- If the leader is unable to take action, another party member can be assigned leader.
✅ Offin Tett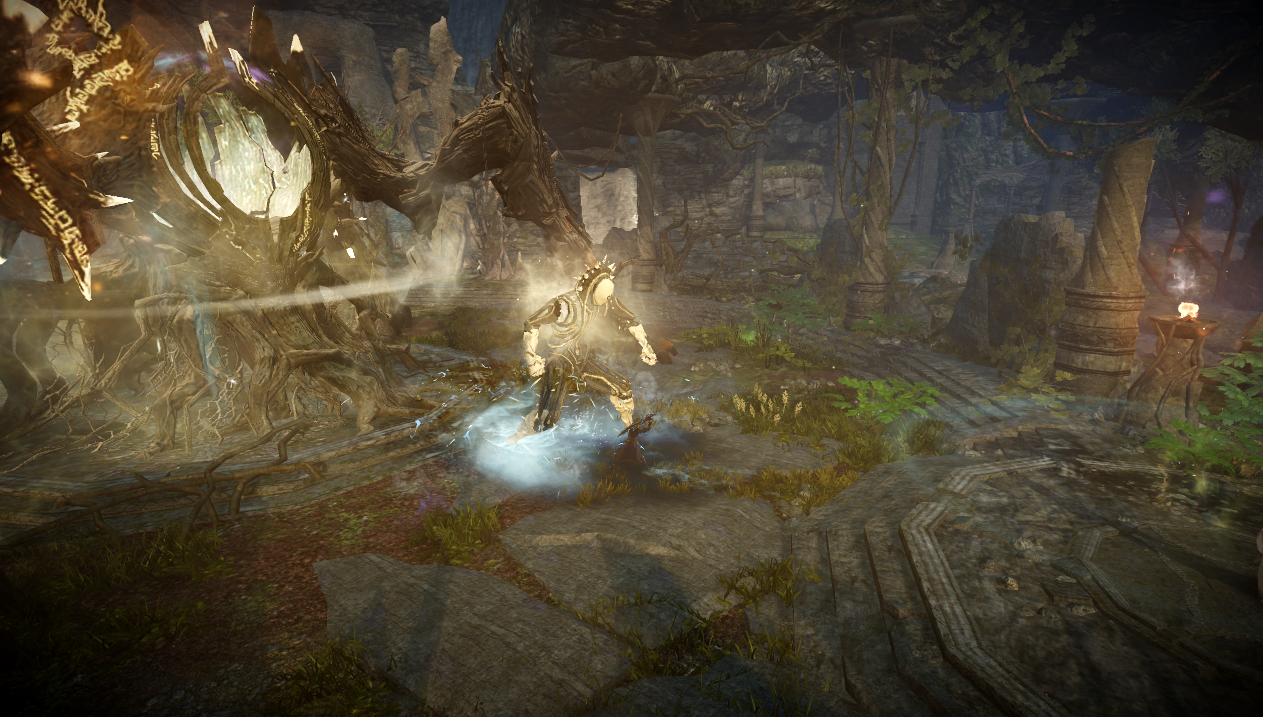
- Offin Tett jumps into battle when two legs are destroyed.
- Offin Tett will return to Offin upon being at or below 50% HP
- Offin Tett will reappear when Offin's legs are destroyed, and defeating it will result in a successful clear.
✅ Neubella 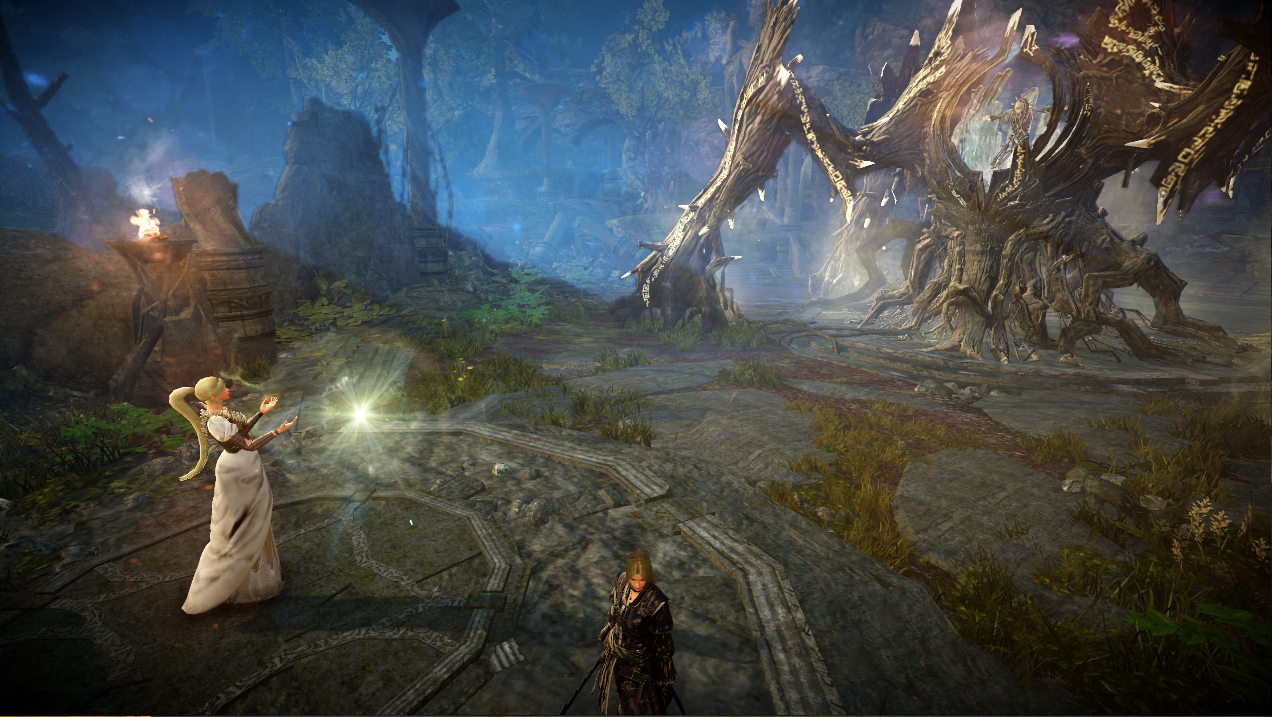
- Neubella, the commander of Lemoria Central Camp, appears to assist the Co-op Rush.
- Neubella heals nearby Adventurers and casts a barrier that can block Poison Mist.
- Neubella is vulnerable to Offin Tett and randomly appearing Voraro.
- Protecting Neubella from these dangers is key to a successful Co-op Rush.
Co-op Rush: Garmoth

Co-op Rush: Garmoth
Garmoth, the Crimson Dragon who cursed the land of Duvencrune in ages past. The Crimson Dragon was severely wounded during the Great Battle, and hid in the Tshira Ruins waiting for her moment to arrive. Now that the Sherekhan are gone, she prepares to take to the skies and reclaim her reign over Drieghan and commence a new age of dragons.
Duvencrune has requested the help of Co-op Rush Forces in the fight against the Crimson Dragon. May the Sherekhan's blessings be with you as your forces stand strong in front of Garmoth's Nest.
Also, you just might get your hands on the "Necklace of Bloody Ire," which can summon Garmoth's specter!
- You can access Co-op Rush: Garmoth after completing the Story "Drieghan: Spread of Terror."
- Up to 10 Adventurers can form a Co-op Rush Party and enter Garmoth's Nest to challenge the Crimson Dragon.
■ Reward
- You can obtain Knowledge EXP for Crimson Dragon Garmoth upon completion. This Knowledge increases AP based on its level.
- You can obtain rewards such as Shattered Draconic Necklace, Ah'krad, Primal Memory (Gloves), and more upon completion.
ㆍSome rewards are not guaranteed, and you only have a chance to obtain them.
- You can obtain the "Gaarrgh" title upon reaching Crimson Dragon Garmoth Knowledge Lv 2.
▼ About 'Necklace of Bloody Ire'
- The "Shattered Draconic Necklace" obtained from defeating Garmoth can be used along with other materials to craft "Necklace of Bloody Ire" from the Craft menu.
ㆍMaterials: Chaos Necklace, Shattered Draconic Necklace, Chaos Jewel x20, 200 billion Silver
ㆍEnhancement Level, Enchantments, and other stats from the material Chaos Necklace are kept.
- When you are struck while the "Necklace of Bloody Ire" is equipped, there is a 5% chance to summon a Garmoth Specter. Ally Max HP will increase by 5000 for 8 seconds and nearby enemies will suffer from Knockback and Stun.
ㆍThis effect does not trigger in Path of Glory and content where CP is equalized.
■ Boss Guild

- Garmoth can breathe out fire to attack her enemies in front of her, and can rain down a torrent of meteors.
- She also features an array of physical attacks, utilizing her sharp claws and giant physique.
✅ Garmoth's Totems
- When Garmoth's remaining HP hits 70%, she summons her totems and flies into the air.
- You cannot attack Garmoth before destroying all totems.
- Each totem has different abilities. One strengthens her fireball attacks, one increases the speed of her Draconic Rage attack, and one reduces the HP Recovery of Adventurers.
- When the totems are summoned, the party leader can use the UI on the top of the screen to send orders to the rest of the party.
✅ Draconic Rage
- When the Magic Absorption Gauge is full while the totems are active, Garmoth casts a powerful attack that targets all Adventurers in battle.
✅ Garmoth's Blight
- Garmoth blights a random Adventurer, which causes an explosion after a certain period of time.
- The explosion deals extremely powerful damage to all nearby Adventurers.
ㆍBlighted Adventurers must distance themselves from allies.
✅ Kagtum Commander
- When Garmoth's remaining HP hits 50%, she summons Kagtum Commander and files into the air again.
- You cannot attack Garmoth while Kagtum Commander is alive.
- Kagtum Commander charges toward Adventurers. 
- Kagtum Commander has high Max HP.
ㆍUse the "Judgment of Aal" siege weapon that spawns after a certain period of time to efficiently take down the commander.
✅ Frenzied Phases

- Garmoth becomes frenzied after a certain period of time, and her attacks are enhanced.
- Frenzied Phase 1 begins 15 minutes after entering or when Garmoth's remaining HP hits 20%.
- Frenzied Phase 2 begins after Garmoth uses Torrential Meteor 15 times during Phase 1.
ㆍThe time limit for this Co-op Rush is 40 minutes.
- Garmoth will repeatedly cast Draconic Rage during Frenzied Phase 2.
Co-op Rush: Ronin

Co-op Rush: Ronin
An enemy that Adventurers must unite to defeat has appeared: the boss of the Forest Ronaros, Ronin.
Ronin uses vines to turn a wide area into its own battlefield and performs agile attacks, such as disappearing into Ron's Mirror, then charging forward. If you lose focus while facing Ronin, you'll find yourself helpless, knocked down on the verdant ground.
Check out the newly added Story, "Guardian of the Sacred Forest," and Ronin's lore, while enjoying the thrill of strategizing in the new Co-op Rush.
- You can access Co-op Rush: Ronin after completing the Story "Guardian of the Sacred Forest."
ㆍ You can proceed with the story after completing the Story - "The Awakened Watcher" after completing the main quest "Back to Nelindo" in Northeast Kamasylvia.
■ Boss Guild 
 - Ronin raises its foreleg to strike down and swings its weapon to attack nearby enemies.
- It also showcases a charging attack by raising its foreleg and rushing towards enemies in front of it.
✅ White Tree Thorn Vines
 - When Ronin's HP drops to 80%, it summons White Tree Thorn Vines.
- The White Tree Thorn Vines cannot move but attack nearby Adventurers.
- The White Tree Thorn Vines become immune to damage if they're not defeated quickly. They then last until Ronin is defeated and cannot be removed.
✅ Ron's Mirror

- Ron's Mirrors are placed on the battlefield where Ronin inhabits.
- When Ronin's HP drops to 50%, it hides and enters the mirror.  - After hiding, Ronin charges forward and attacks from the opposite mirror with the Ronaros.
- If you destroy the opposite mirror before Ronin charges, it will be stunned and stop moving temporarily.
- If Ronin enters the mirror without the opposite mirror being destroyed, that mirror cannot be destroyed.
ㆍ Forest Ronaros Marksman continuously appear from the remaining mirror to assist Ronin.
✅ Enraged
 - When Ronin's HP decreases to 20%, it becomes enraged and launches a powerful attack.
ㆍ Ronin will quickly perform a series of deadly attacks over a wide area.
✅ Frenzied
 - Ronin becomes frenzied at the 15-minute mark of battle.
- While frenzied, Ronin continuously attacks over a wide area.
■ Guardian Belt
- You can obtain the [Shattered Guardian Belt] as a reward for defeating Ronin. - When equipped with the [Forest Guardian Belt] and using "Black Spirit's Rage: Absorb," the following effects are activated:
ㆍ Recover 750 HP for allies every 2 sec for 6 sec.
ㆍ Increases allies' "PvP Damage Reduction" stats and max by 10% for 10 sec.
ㆍ Effects apply to nearby allies and the equipper. 

- Defeating Ronin has a chance to drop "Roaring Energy."
ㆍ Roaring Energy can be exchanged for a [Shattered Draconic Necklace] or [Shattered Guardian Belt] with [Roaring Energy] x25 via Orwen in towns.
ㆍ The exchange icon will only appear on top of Orwen's head if you have 25 or more Roaring Energy.
ㆍ Roaring Energy can be registered on the Market.
Statue of Noble Purpose
 t
t
- The Knowledge "Statue of Noble Purpose" can be acquired upon completion of the Achievements "Kamasylvia Ancient Guardian" and "Fly High Like the Dragon."
ㆍ The Achievements "Kamasylvia Ancient Guardian" and "Fly High Like the Dragon" will automatically be completed upon acquisition of the Knowledges Mirumok Watcher Offin and Crimson Dragon Garmoth, respectively, and you'll acquire the Knowledge "Statue of Noble Purpose" as well.
- You can gain the Knowledge EXP for "Statue of Noble Purpose" by defeating the Co-op Rush boss for which your Knowledge is at max level.
- You can check out the Knowledge "Statue of Noble Purpose" through [Knowledge → Boss → World Boss] tab.
Co-op Rush: Imoogi

Even after Adventurers uncovered Oduksini casting a shadow over the Land of the Morning Light and reached the end of the hidden tales, was it still too early for us to assume that true peace had returned to the land?
News arrives from a town plagued by disease after a black rain. As you pursue the source of the plague, secrets from 50 years ago and the identity of the emerging forces begin to unravel. Discover the winding tales of that day in the Land of the Morning Light.
The black rain brought more than just disease to the Land of the Morning Light. A mystical being, once known as the deity of agriculture for granting wishes and controlling water, now appears to threaten the people.
Taking down the creature who freely manipulates water, fire, clouds, and wind, will be no easy task, even for veterans who have overcome numerous threats. The nest, surrounded by water, limits movement, and you must avoid the relentless thunderbolts and sweeping flames.
When faced with such adversities, wouldn't it be best to call upon your companions to provide aid?
Join forces with fellow Adventurers to challenge this mystical creature. The new boss was added to the Co-op Rush along with a new bonus tale: Imoogi, the Mystical Being of the Black Rain.
Imoogi moves swiftly through water, making it hard to chase. It also strikes thunderbolts using rain clouds and uses fire attacks with its specters.
Imoogi's Nest might seem tight, but it sets the stage for an intense battle. Team up with Adventurers to take on the formidable Imoogi Co-op Rush!

- Added the Bonus Tales Koo Mihyun and Imoogi to the Land of the Morning Light Tale Collection.
ㆍ Complete all 8 Tales and the Bonus Tales up to Oduksini to start the added Bonus Tales.
ㆍ Obtain the title "Master of Shimhyangje" upon completing Koo Mihyun, and "Waited a Thousand Years" upon completing Imoogi.

- Added the Co-op Rush Imoogi, a Mystical Being of the Black Rain.
ㆍ You can enter after completing the Bonus Tale Imoogi and have CP 68,500 or higher.

- Create a party of up to 5 members to enter.
ㆍ If you have 110,000 CP or higher, it will be adjusted.
ㆍ This Co-op Rush shares entries with other Co-op Rushes.
- You can revive once during the Imoogi Co-op Rush.
ㆍ If you become incapacitated again after reviving once, you will be unable to obtain the rewards.
Imoogi Guide
Central Stone Lantern

- One of the following auras will imbue the central stone lantern: Earth, Moon, or Sun.
- Gather the same aura in the central stone lantern with the Aura-Imbued Stone Lanterns on the edge of the stage.
- Attack the Aura-Imbued Stone Lanterns to change their aura.
Rain Cloud

- Imoogi summons a rain cloud to conceal itself.
ㆍ The location of the rain cloud is marked on the mini-map.

- A red mark appears above the head of a random party member's character.
ㆍThe Adventurer with the red mark will be constantly hit by red thunderbolts.

- Lure the red thunderbolt to hit the rain cloud on the marked location and create a tornado.
ㆍ The created tornado moves to the central stone lantern and destroys mixed auras.
ㆍThe suggested strategy is for the marked Adventurer to prioritize clearing the rain cloud while the rest hits Imoogi.
Protect the Stone Lantern's Aura

- All types of Aura will appear around the central stone lantern imbued with one Aura.
- To protect the stone lantern's aura, destroy all other types of aura surrounding the stone lantern.
Giant Rain Cloud


- Imoogi makes Imoogi's Nest dark by summoning a giant rain cloud.
- Rain from the giant rain cloud deals immense damage.

- A safe zone is created under the giant rain cloud. Stay inside the area to recover a certain amount of HP.
Burning Charge


- Imoogi summons specters then attacks with a burning charge attack.
ㆍ Burning zones are created in the locations Where Imoogi and the specters charged through.

- After charging, Imoogi emerges from the water with its specters to attack. Imoogi can be hit during this time.
ㆍ The real Imoogi's location is marked on the mini-map.
Frenzy

- If Imoogi is still alive 5 min after it starts using its burning charge attacks, it will enter a frenzy.

- The frenzied Imoogi creates a huge rain cloud that deals fatal damage.
- After Imoogi enters a frenzy, it cannot be attacked.
- Imoogi must be defeated before it enters a frenzy.
Rewards

- You can obtain the following rewards based on a set rate for defeating Imoogi:
ㆍ Shattered Bracelet of Wishes, Roaring Energy, [Necklace] Primal Unknown Memory, [Earrings] Abyssal Unknown Memory, Ahkrad, Dimensional Fragment, [Abyssal] Relic Chest, Crimson Crown, and Totem Chest.


- Equipping the Bracelet of Blue Wishes applies the effect Field Item Drop Rate +7%.
ㆍ This effect is applied the same way as the Magic/Normal food buff effect, the Goblins Blessing effect in Relic Offering, and the Field Item Drop Rate effect from pet skills.
- Shattered Bracelet of Wishes can be registered on the market.


- Shattered Bracelet of Wishes can be crafted into the Bracelet of Blue Wishes using other materials.
- The enhancement level and enchantment on the Chaos/Eternal Bracelet used as material will be kept in the newly crafted item.
ㆍ Chaos Grade Crafting: Shattered Bracelet of Wishes x1, Chaos Jewel x20, 100 billion Silver, Chaos Bracelet
ㆍ Eternal Grade Crafting: Shattered Bracelet of Wishes x1, Chaos Jewel x20, 100 billion Silver, Eternal Bracelet
- Added the Shattered Bracelet of Wishes to the list of items which can be exchanged for Roaring Energy x25 through Orwen.
- Sent the (Old) Co-op Rush Scroll to your Mailbox according to the extra entries you had before the update.
ㆍ The base entries are not included in the count.
- Changed all Co-op Rush Scroll owned before the update to (Old) Co-op Rush Scroll.
- Use the item (Old) Co-op Rush Scroll to select a reward chest from either Offin, Garmoth, or Ronin.
ㆍ After selecting and using the chest, you will receive the completion reward for the relevant Co-op Rush and acquire Boss Knowledge.
ㆍ The chest can be used after meeting the content unlock requirements for the relevant Co-op Rush.
- The base entry was reset to 1 after the update maintenance.